


Pruning tree canopies is important. Taking care of a tree and watching it flourish can be an incredibly fulfilling experience. However, as much as we adore the lush foliage, refreshing shade, and all the other natural perks that come with its branches, there are instances when we must part ways with at least bits of them.
While parks and countryside areas greatly benefit from trees with abundant branches, urban settings often struggle to accommodate them. In densely populated regions, tree branches have the potential to obstruct scenic views, damage roofs, and even pose hazards to homes, roads, and sidewalks below.
One solution to this predicament is to undertake selective pruning, meticulously shaping the tree's canopy.
What is a Tree Canopy?
The term "canopy" refers to the magnificent structure created by the branches and leaves of a single tree or a cluster of trees. A tree with a well-formed and well-maintained canopy indicates its overall health and vitality. This canopy serves a crucial purpose by allowing the tree to capture maximum sunlight, even in limited spaces whilst protecting it from potential wind damage.
Under the sheltering embrace of the canopy, people find refuge and shield from the elements. Additionally, a well-managed canopy offers improved visibility to the lower parts of the tree, allowing for better sightlines and creating a more open and welcoming atmosphere.
Before we delve into the art of pruning tree canopies, it's essential to address fundamental questions such as "What does pruning tree canopies involve?" and "What exactly is canopy raising?"
Tree canopy raising: What is it?
Thinning is another term for the process of raising the canopy of a tree. It means cutting off the lower branches of a tree that obstruct sunshine, get in the way of traffic, or hinder other trees, plants, and bushes from growing.
Large tree branches also risk smashing into your property if there is a storm with high winds or ice buildup.
With minor trimming performed periodically, you prevent the tree's huge lower limbs from ascending into the canopy, hence increasing the canopy's height.
Besides preventing the issues mentioned above, pruning a tree's canopy also offers an aesthetic benefit by giving the tree a more manicured appearance.
Pruning Tree Canopies: How To Do It
Generally, you shouldn't take off more than 15 to 20% of a grown tree's leaves. Doing this keeps the tree from getting spouts and weakens growth.
When tree pruning, you want to cut off branches thicker than 5cm (2 inches). However, you shouldn't prune larger branches unless they are dead or sick, since they provide structural support for the plant.
Remember to always make cuts outside the parent wood and at the right angle to divert moisture from the cut area. Also, never make any cut into the tree trunk or primary leader since doing so invites rot and infection.
Furthermore, research your tree beforehand to see when the best time to prune is. Most trees are best pruned in winter in their dormancy, but it isn’t always the case.
You can render the canopy more compact by removing branches from its periphery while removing damaged or dead branches from within.
Be careful not to cut away too much of the inside branches of the tree, as this will give it a "lion's tail" shape, making the tree unattractive and weak.
Items You Will Need For Pruning Tree Canopies
To get the best possible results from the beginning, you will need the following items:
- Ladder
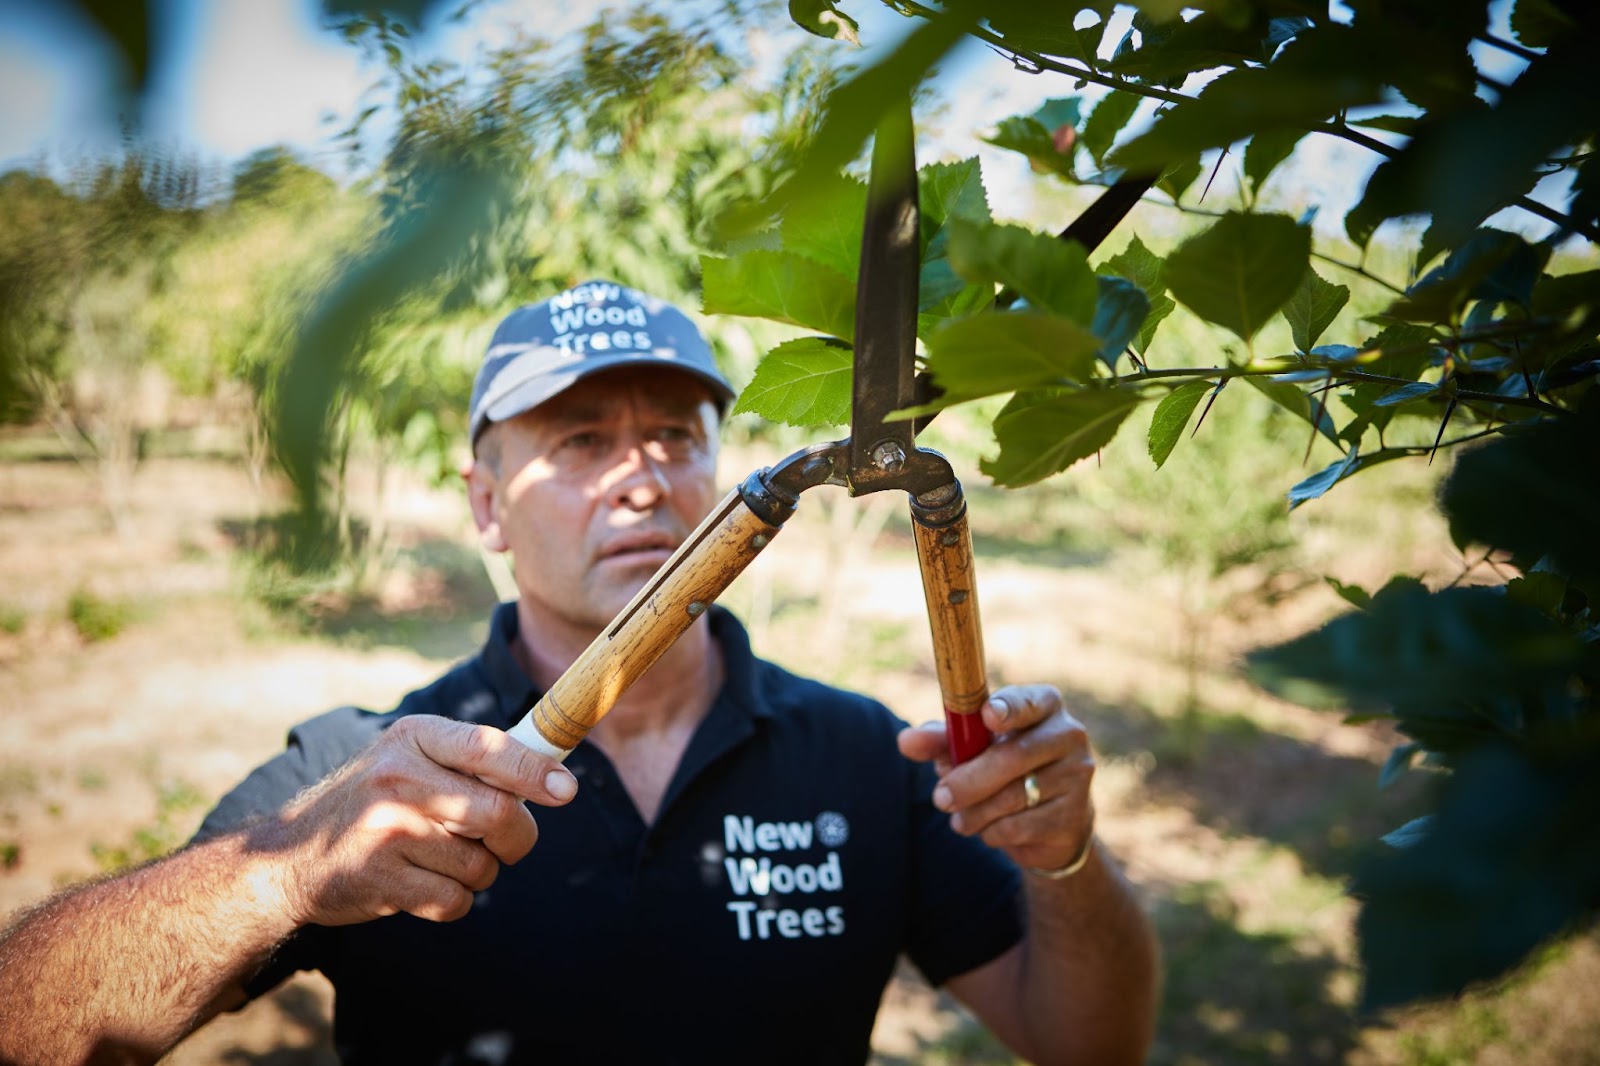
- Secateurs
- Gloves
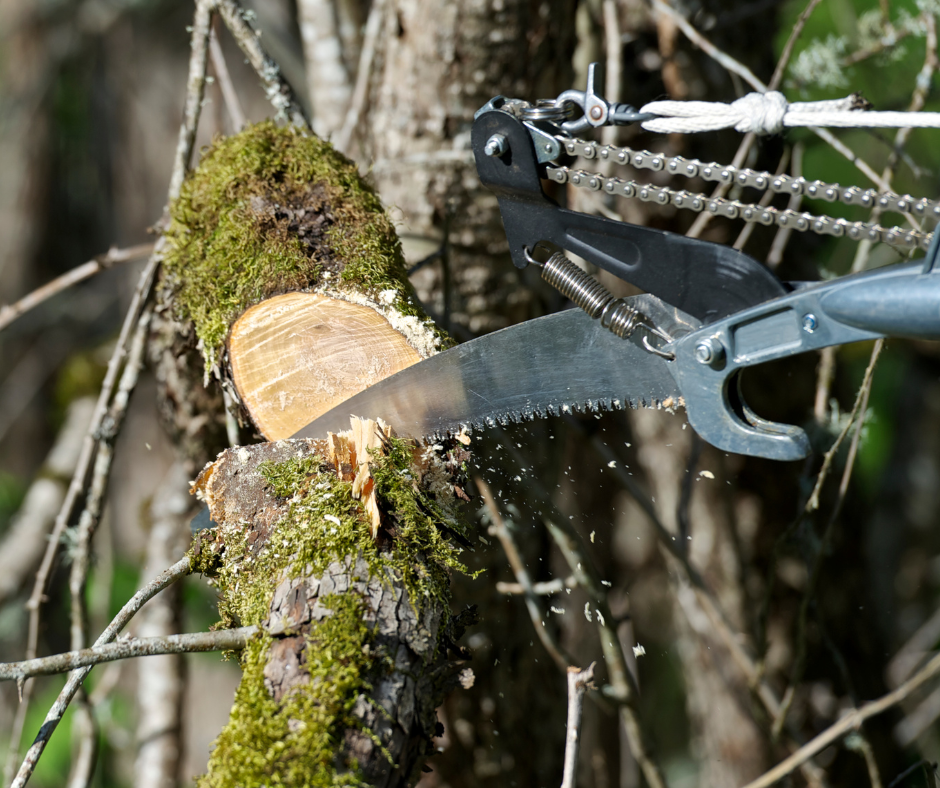
- Pruning saw
- Head protection
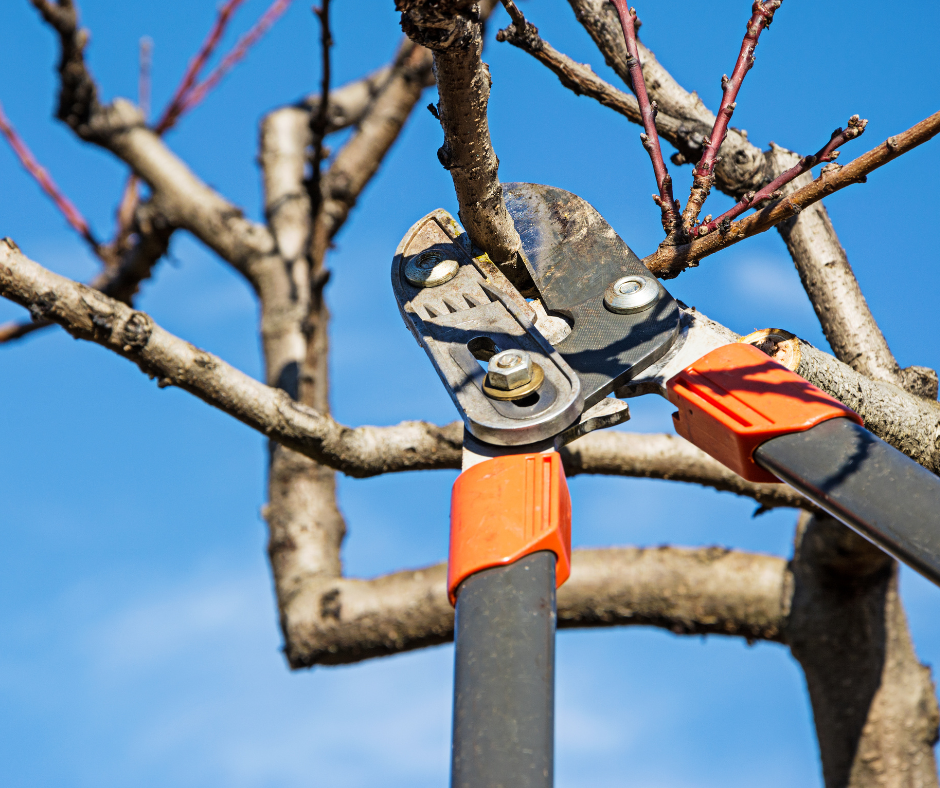
- Loppers
- Safety goggles
- Long-handled pruning saw
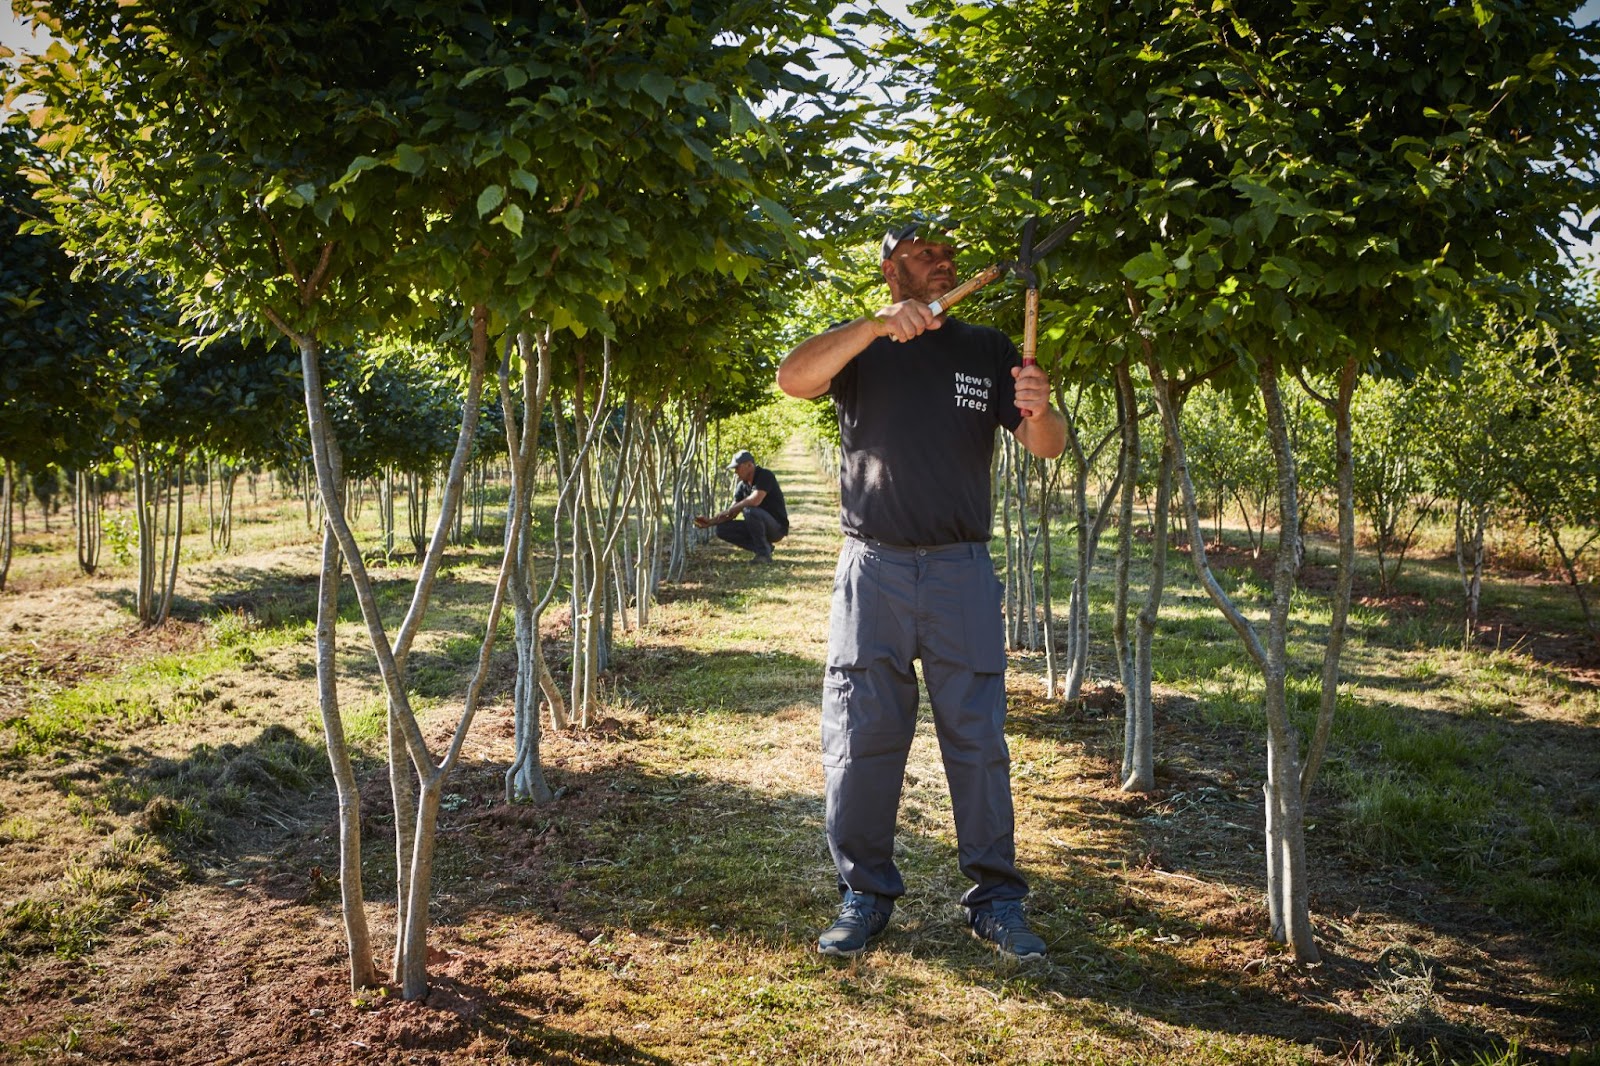
Instead of taking your tools to the older trees, it is strongly suggested that you prune down the canopies of younger trees first. You risk leaving massive bald areas on the tree or harming it when you cut too heavily and frequently. Plus, there is a chance that the wood will rot and crack.
10 Easy Steps to Pruning Tree Canopies
- Ensure Your Tools Are in the Right Condition
Ensure the blades are sharp so you can prune with more precision. In addition, sharp tools produce clean cuts, which increases the likelihood that the wounds will heal properly.
- Decide Your Pruning Objective
Thin out the branches of your tree if it's blocking too much sunlight. If the canopy is too big for an area, you can make more room beneath the canopy by cutting back some of the lower branches (called "crown lifting").
When done correctly, this pruning approach to tree shaping can bring out the best in a tree's natural characteristics.
- Prune the Three D's
Remove any physically damaged, dead, or diseased branches, then move on to any lax or weak growth. This includes any new shoots from the base of the tree that might be sapping energy from the rest of the tree. When applicable, eliminate branches touching one another to prevent the spread of illness.
- Examine the Tree From Various Perspectives
Determine what else you wish to eliminate. It is best not to take away more than twenty per cent of the canopy in a single growing season.
Hard pruning can generate a lot of robust vertical growth called watershoots, which can be detrimental if your goal is to shrink your tree's canopy size or thin it out. You can perform this pruning simply by following the subsequent steps.
- Get Ready to Prune Large Branches
To keep things from breaking, employ an undercut and an overcut. To begin, make a shallow incision on the lower part of the branch around 20cm (8 inches) away from the spot where you intend to make your actual cut.
The second step is to carve a narrow cut into the upper side of the branch around 2.5cm (1 inch) farther down (in the direction of the end of the branch).
- Cut the Bigger Branches
Cut through to attach the undercut to the overcut you made, then remove this branch portion. To make the work safe and easy, longer, heavier branches must be cut several times, so you remove multiple pieces step by step.
- Get Rid of Trimming Stumps
Cutting through the stub just beyond the branch collar (the tiny bulge, often wrinkled, where the branch meets the trunk or a bigger branch) is the best way to get rid of the remnants of a large branch that you cut off.
While you are sawing, support the weight of the stub with your hand to prevent tearing. Do not make cuts flush with the trunk since the collar serves as the natural protective region of the tree and is where recovery occurs.
- Trim Frail Branches
Use pruning scissors or secateurs to prune branches below 2.5 cm in diameter, clipping 0.5 cm away from a healthy bud, side shoot, or set of buds.
If you cut too near the bud, it will die; if you cut too further away, the stub will die back and extend to the healthy wood. To promote the formation of a properly shaped canopy, cut as close as possible to buds or branches that face outward.
- Reduce the Thickness of the Larger Branches
While pruning branches with a diameter of more than 2.5 centimetres, it is preferable to eliminate the branches entirely rather than leave a stub behind.
Remove the branch until you reach the main stem, a branch with a thicker cross-section, or a side shoot at least one-third as wide as the branch you are pruning.
- Step Aside to Reevaluate the Tree
Possibly the most important step. It’s very easy to get carried away and do too much at once. Examine the tree from all angles to ensure you have not overlooked branches requiring thinning or pruning. Repeat the procedures listed above until you reach a point where you are satisfied with your outcome.
Final Tips For a Great Finish
First, determine which part of the tree must have the lowest branch, and use that decision to guide your pruning moving forward. If you want to get the canopy higher, you need to do two things: cut down the spreading of the lower branches and eliminate the troublesome ones.
Remember, you don’t want to prune more than necessary. Over-pruning usually occurs if you delay until your trees become too mature and you must cut numerous branches at once, which harms the tree. Instead of chopping off all the huge lower branches simultaneously, pick a few and cut them back to the trunk to limit their growth.
Also, if you slice off a lot of lower branches at once, the tree may become top-heavy and begin to bend, especially if it's still too young.
Once you begin pruning, proceed in a circle around the tree to ensure you work in an orderly manner. In addition to cutting these branches strategically, you should evaluate the tree for any extra limbs that can cause issues, such as those that are overly crowded or might obstruct the growth of other branches. You should trim these branches so they are as near the trunk as possible without nicking them. Finally, repeat the pruning steps each year with these tips in mind.
Wrapping Up
Taking care of your trees can keep them from falling on your roof, making your property look beautiful. Most homeowners don't give tree care a second thought until the spring, but the pros know that planning in the autumn can result in a more manageable and fruitful effort come springtime.
So, if you want to keep your trees healthy and beautiful during the winter, there are essential steps you need to take. Use the PINE approach (prune, inspect, nourish, and extend) to stave off potential issues. Hopefully, this pruning guide helped you with the first letter of the PINE approach. If you need further help, contact us today for all your tree care needs.